
Every dropshipper has had this ticket: “I put my tracking number into Google and it says my parcel is in Guangzhou. Is this from AliExpress?” Ten minutes later, the same customer has found your product for a third of the price and opened a dispute.
The parcel was fine. It was moving, on time, exactly as promised. What caused the problem was what the customer saw when they looked it up.
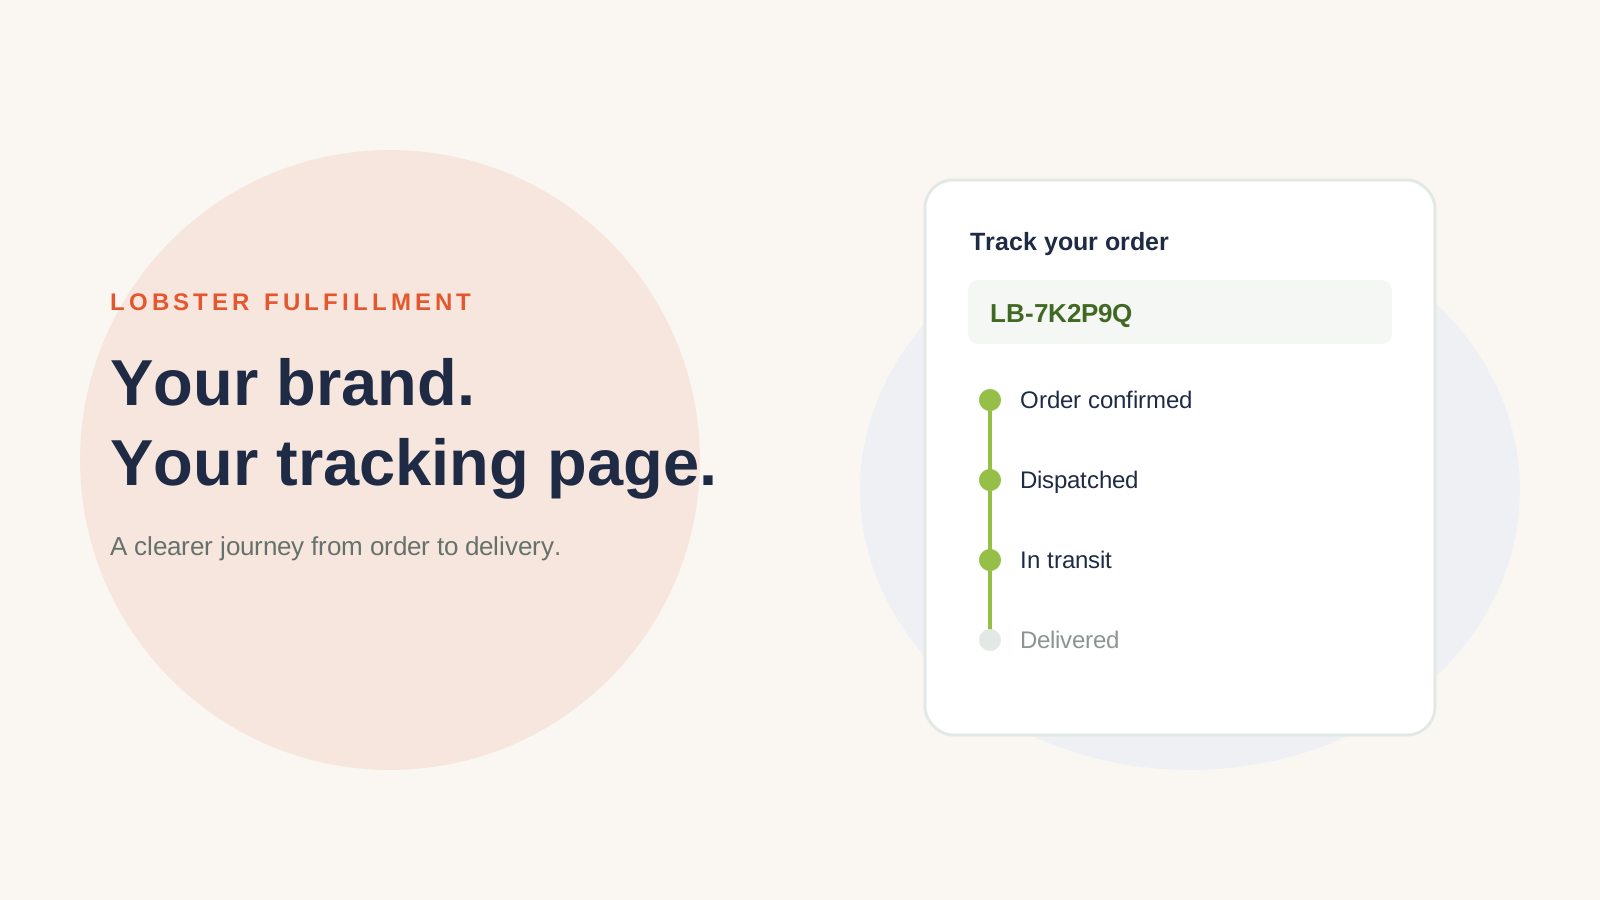
Some bigger stores avoid this with a branded tracking page that uses their own tracking IDs. The customer sees LB-7K2P9Q on your domain with real scans from the real parcel, and never gets a raw China-origin number to paste into a search bar. A year ago you’d have paid a developer for this. Today you can build it in a weekend with Lovable, Cursor or ChatGPT.
Quick note before we start: Lobster does not offer tracking masking at the moment. This is a DIY guide. I’m sharing it because it’s a smart build, and because it works best with the part we do handle (more on that at the end).
Why dropshippers hide China-origin tracking
- Customer trust. A Chinese carrier name or a scan in Shenzhen makes some buyers nervous, even when the parcel is exactly on schedule.
- Fewer “where is my order” tickets. Raw cross-border tracking is messy: untranslated events, carrier hand-offs, numbers that seem to change. A clean page answers the question before it becomes a ticket.
- No price-comparison rabbit hole. Pasting a tracking number into Google or a public tracker can lead customers to Chinese carriers, marketplaces and supplier listings. Your branded ID leads back to you.
- A branded experience. You get your logo, your colours and your support link, instead of a third-party tracker full of someone else’s ads.
- Calmer wording. Routine events written in raw carrier speak or in Chinese can look like a problem. Clear wording means fewer panicked customers going straight to their bank, and fewer chargebacks triggered by statuses that only look scary.
The honest rule: mask the number, never the truth
Let’s be clear about what this is. You’re hiding a number and some origin details for privacy and branding. You are not faking delivery, inventing scans or covering up delays.
- Your page shows the real statuses of the real package. If it’s delayed, it shows as delayed. If there’s an exception, the customer sees it.
- Never invent events, change timestamps, or show a parcel as delivered before it is.
- Be upfront about shipping times on your product and shipping pages. A nice tracking page won’t fix a misleading “3-day delivery” promise, and in a dispute that promise works against you.
Done this way, the page actually lowers your dispute risk, because customers can see their order moving and have no reason to panic.
How the setup works
It has four moving parts. Once these make sense, so will the AI prompts below.
- A private table. Each row maps an alias (LB-7K2P9Q) to the real tracking number, the carrier and the Shopify order. Only your backend can read it.
- A tracking API. Your backend registers the real number and receives status updates. For China-origin parcels, 17TRACK’s API (v2.4) is the usual choice. You call POST /register to start tracking a number and /gettrackinfo to pull its details, and webhooks push updates to you. Every request sends your key in a 17token header. AfterShip and EasyPost do the same job if you prefer them.
- A backend function. It receives the webhook, cleans up the events and saves a sanitized copy against the alias.
- A branded /track page. The customer enters their alias (or opens a link that already includes it) and sees the sanitized timeline.
The golden rule: the real number never reaches the browser. It can’t be in the HTML, the JavaScript bundle, a URL, an API response or a hidden field. If it’s in the page source, it isn’t masked.
The details that make or break it
- Random, unguessable aliases. Use a prefix plus 6 to 8 random characters, like LB-7K2P9Q, and skip lookalikes such as 0/O and 1/I. Never use order numbers, sequences or words. Otherwise someone can type LB-0001, LB-0002 and browse your customers’ orders.
- Sanitize the event text. Carrier descriptions often include the tracking number itself, the origin carrier’s name, phone numbers or Chinese city names. Strip the number (including partial matches), replace origin carrier names with something neutral, and remove or translate Chinese text.
- Relabel origin events carefully. You can rename origin locations, so “Departed Shenzhen sorting center” becomes “Departed international sorting hub”. That’s a cosmetic label on an event that really happened. Keep the event, its time and its status exactly as they are, and only change origin-side location names. Leave destination-country events word for word.
- Show the last-mile carrier once it takes over. When USPS, Royal Mail, DHL or another local carrier has the parcel, customers may need its name to arrange redelivery or a pickup. Hiding that creates tickets, not trust.
- Rate limiting. Cap lookups per IP (for example 10 per minute) and return the same “not found” message for every wrong ID, so nobody can brute-force aliases.
- Cache everything. Serve the page from your database, not from a live API call on every view. 17TRACK limits the API to 3 requests per second, and webhooks keep your data fresh anyway.
- Verify webhooks. Check the signature 17TRACK sends with each push, so nobody can post fake updates to your endpoint.
Step-by-step: vibe-coding it with AI
This is the build I’d do in Lovable, which comes with Supabase built in. In Cursor, the same prompts work for a Next.js + Supabase project. In ChatGPT, paste them one at a time and ask for complete files.
Step 1: keys. Create an account at api.17track.net, copy your key from Settings and save it as a secret in your project (for example TRACK17_KEY). Never paste the key into a prompt or into frontend code.
Step 2: database and backend. Paste this:
Prompt 1: “Create a Supabase table tracking_aliases with: id, alias (unique text, format LB- plus 6 random characters from A-H, J-N, P-Z and 2-9), real_number (text), carrier_code (int, nullable), shopify_order_id (text), status (text), events (jsonb, sanitized only), updated_at. Enable RLS with no public policies so only the service role can read it. Create an edge function create-alias that takes real_number, carrier_code and shopify_order_id, generates a unique alias, saves the row, and registers the number with 17TRACK via POST https://api.17track.net/track/v2.4/register using the header 17token from the secret TRACK17_KEY. Create a second edge function track-webhook that receives 17TRACK TRACKING_UPDATED webhooks, verifies the signature, finds the row by real_number, runs the events through a sanitize() function and saves the result to events and status.”
Step 3: the sanitizer. This is the part that matters most, so give it its own prompt:
Prompt 2: “Write sanitize(events, realNumber) for track-webhook. For each event, keep time, status and sub_status unchanged. In description and location: remove the real tracking number and any substring of it 8 or more characters long, remove origin carrier names from a configurable list, remove phone numbers, and remove Chinese characters. If the event happened in the origin country (CN), replace the city with ‘International sorting hub’. Never add, remove, merge or reorder events, and never change timestamps or statuses. Leave destination-country events untouched except for removing the tracking number. Add unit tests for every rule.”
Step 4: the page.
Prompt 3: “Build a public /track page in my store’s branding with one input for the tracking ID, which also reads ?id= from the URL. It calls an edge function get-tracking that takes the alias, applies rate limiting (10 requests per minute per IP) and returns only the alias, status, sanitized events and updated_at. The real number, carrier code and order ID must never appear in the response. Show a clean timeline with a status badge, the latest event on top and a link to my support. For unknown IDs, show a generic ‘We couldn’t find that tracking ID’ message.”
Step 5: audit it. Ask the AI: “Search the whole codebase and every client-facing response for real_number. Confirm it is only read server-side and never sent to the browser.” Then check it yourself: open the page, view the source, open DevTools, and search the Network tab for the real number. You should find nothing.
Connecting it to Shopify
Your app needs to know when an order gets tracking. The clean way is to create a custom app in your Shopify admin and subscribe to the fulfillments/create webhook. When it fires, call create-alias with the tracking number, carrier and order ID. Ask the AI to build that receiver as one more edge function.
Then put the alias in front of the customer:
- Edit the Shipping confirmation and Shipping update templates (Settings → Notifications) so the main button links to yourstore.com/track?id=ALIAS instead of the carrier’s page.
- Add a “Track your order” link to your store menu that opens /track, so customers always have one obvious place to go.
Be realistic: Shopify’s order status page and some default templates still show the fulfillment’s tracking number and link. You can reduce where it appears, but you probably can’t remove it everywhere. That’s fine. The goal is to make your page the obvious place to track, not to make the number impossible to find.
Caveats before you build
- 17TRACK quota. Every new tracking number you register uses one quota. Since 7 January 2026, new API accounts get a one-time allowance of 200 free registrations, replacing the old 100 free per month. After that you buy prepaid quota plans, so check current pricing in their dashboard before you rely on it.
- Update cadence. After the first result, 17TRACK re-checks each number every 6 to 12 hours (every 24 hours once a parcel is delivered or has an exception). Your page won’t update to the minute, so say “updated every few hours” and don’t promise more.
- Licensing. Using the API to show tracking for your own store’s orders is the normal use case. Reselling or sublicensing 17TRACK data to other stores is a different matter that needs their written permission. Read their current terms either way.
- The number still exists. It’s printed on the shipping label, carriers may email or text the customer directly, and the last-mile carrier may use its own number. Masking covers your touchpoints, not the entire journey.
- Exceptions are real. When a parcel is held in customs or sent back, your page has to say so. Have a support reply ready instead of hiding the status.
Your masked page is only as good as the tracking behind it
What nobody tells you about branded tracking pages is that they don’t create good tracking. They only display it. If orders sit unfulfilled for five days, or the carrier doesn’t suit the destination and the timeline stays empty, your beautiful page shows that too.
That’s the part Lobster handles. You connect your Shopify store, select the orders you want processed and pay per order from a prepaid USD wallet that you top up with USDT or USDC. Lobster then:
- Processes your selected orders in under 24 hours.
- Matches each order with a carrier suited to its destination.
- Pushes the tracking and the fulfilled status back to Shopify automatically.
Because the tracking lands on the Shopify fulfillment, the fulfillments/create webhook from the steps above picks it up and creates the alias, and your branded page starts filling up on its own. Lobster handles fulfillment and your page handles presentation. If you get stuck, our support is on Telegram.
To say it once more: Lobster doesn’t build or host masked tracking pages right now. You build the page, and Lobster keeps the tracking behind it coming in fast.
Try it on your next 5 orders
New accounts get $12.50 of free balance, enough for your first 5 orders. There’s no monthly fee, and after the trial it’s $2.50 per order from your wallet.